
 En
En
 English
 Français
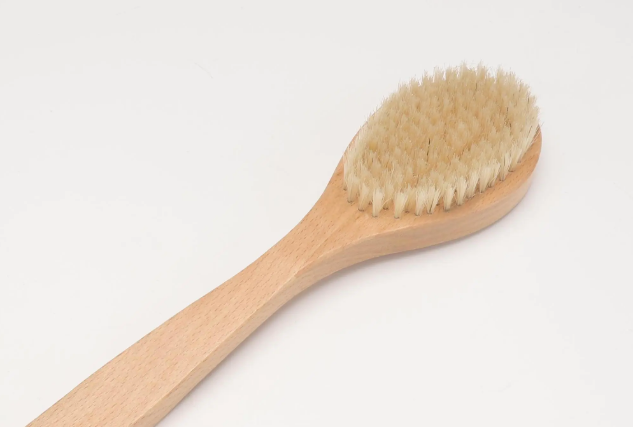
Don't rush to throw away your moldy wooden bath brush! Mold is not only unsightly but can also pose hygiene risks. Treatment requires a two-step process: removing existing mold and preventing future regrowth.
Safety Warning: If the mold stains are very large (more than 30% of the brush surface), or if the wood itself has become soft and rotten, it means the mold may have penetrated deep into the wood and is difficult to remove completely. For health reasons, it is recommended to replace the brush.
Step 1: Emergency Treatment, Remove Visible Mold
Below are several effective and relatively gentle cleaning methods for wood. Please choose according to the materials you have at home.
Method 1: White Vinegar Solution (Natural Disinfectant, First Choice)
Preparing the Solution: Mix white vinegar and water in a 1:1 ratio and pour into a basin.
Soaking the Brush Head: Only soak the bristles (nylon/boar bristles) in the vinegar solution. Avoid soaking the wooden handle for extended periods to prevent the wood from cracking.
Wipe the wooden handle: Use a clean, soft cloth dipped in a vinegar solution to carefully wipe the mold spots on the wooden handle until the mold disappears.
Let it sit: Let the brush sit in a ventilated area for 15-20 minutes to allow the white vinegar to fully exert its bactericidal effect.
Rinse: Rinse the brush head thoroughly with clean water and quickly rinse the wooden handle to remove the vinegar smell and mold residue.
Dry: This is the most crucial step!
Method 2: Baking Soda Paste (Physical Stain Removal + Deodorization)
Make the paste: Mix baking soda with a small amount of water to form a thick paste.
Apply: Use an old toothbrush or your fingers to apply the baking soda paste to the mold spots on the wooden handle and rub gently.
Let it sit: Let it sit for 10-15 minutes.
Scrub and rinse: Scrub off the baking soda paste with clean water and a brush, and rinse thoroughly.
Method 3: Lemon Juice + Salt (Natural Bleach)
Sprinkle Salt: Sprinkle a small amount of salt on the damp mold spots.
Drip Lemon Juice: Squeeze fresh lemon juice onto the salt.
Rub: Rub the mold spots repeatedly with lemon peel or a cloth, using the acidity of the lemon and the abrasive action of the salt to remove the mold.
Rinse: Rinse thoroughly with clean water.
Step 2: Thorough Drying to Prevent Recurrence (Crucial!)
If not properly dried after cleaning, the mold will quickly return.
Shake Off Water: Vigorously shake the bath brush to remove most of the water from the bristles and the crevices of the wooden handle.
Towel Dry: Wrap the bath brush in a dry towel and press firmly to absorb deep-seated moisture.
Hang for Ventilation: Hang the bath brush in a well-ventilated, dry place (such as on a hook in the shower, but not tucked into a damp corner).
Keep the brush head down so that any remaining water can drain away and not accumulate at the junction of the wooden handle and the brush head.
Avoid direct sunlight: Do not place wooden bath brushes in direct sunlight or near heat sources, as this can cause the wood to crack and warp.
Step 3: Daily Maintenance and Mold Prevention
Rinse thoroughly after use: After each use, rinse thoroughly with clean water to remove all soap suds and dander.
Dry completely: Follow the drying steps above to ensure the brush is completely dry before storing.
Store properly: Store in a dry, well-ventilated bathroom cabinet or shelf. Do not place directly on a soap dish or windowsill where water accumulates.
Regular deep cleaning: Every few weeks, perform a quick cleaning with a white vinegar solution or diluted tea tree oil (tea tree oil is a natural mold inhibitor) as a preventative measure.


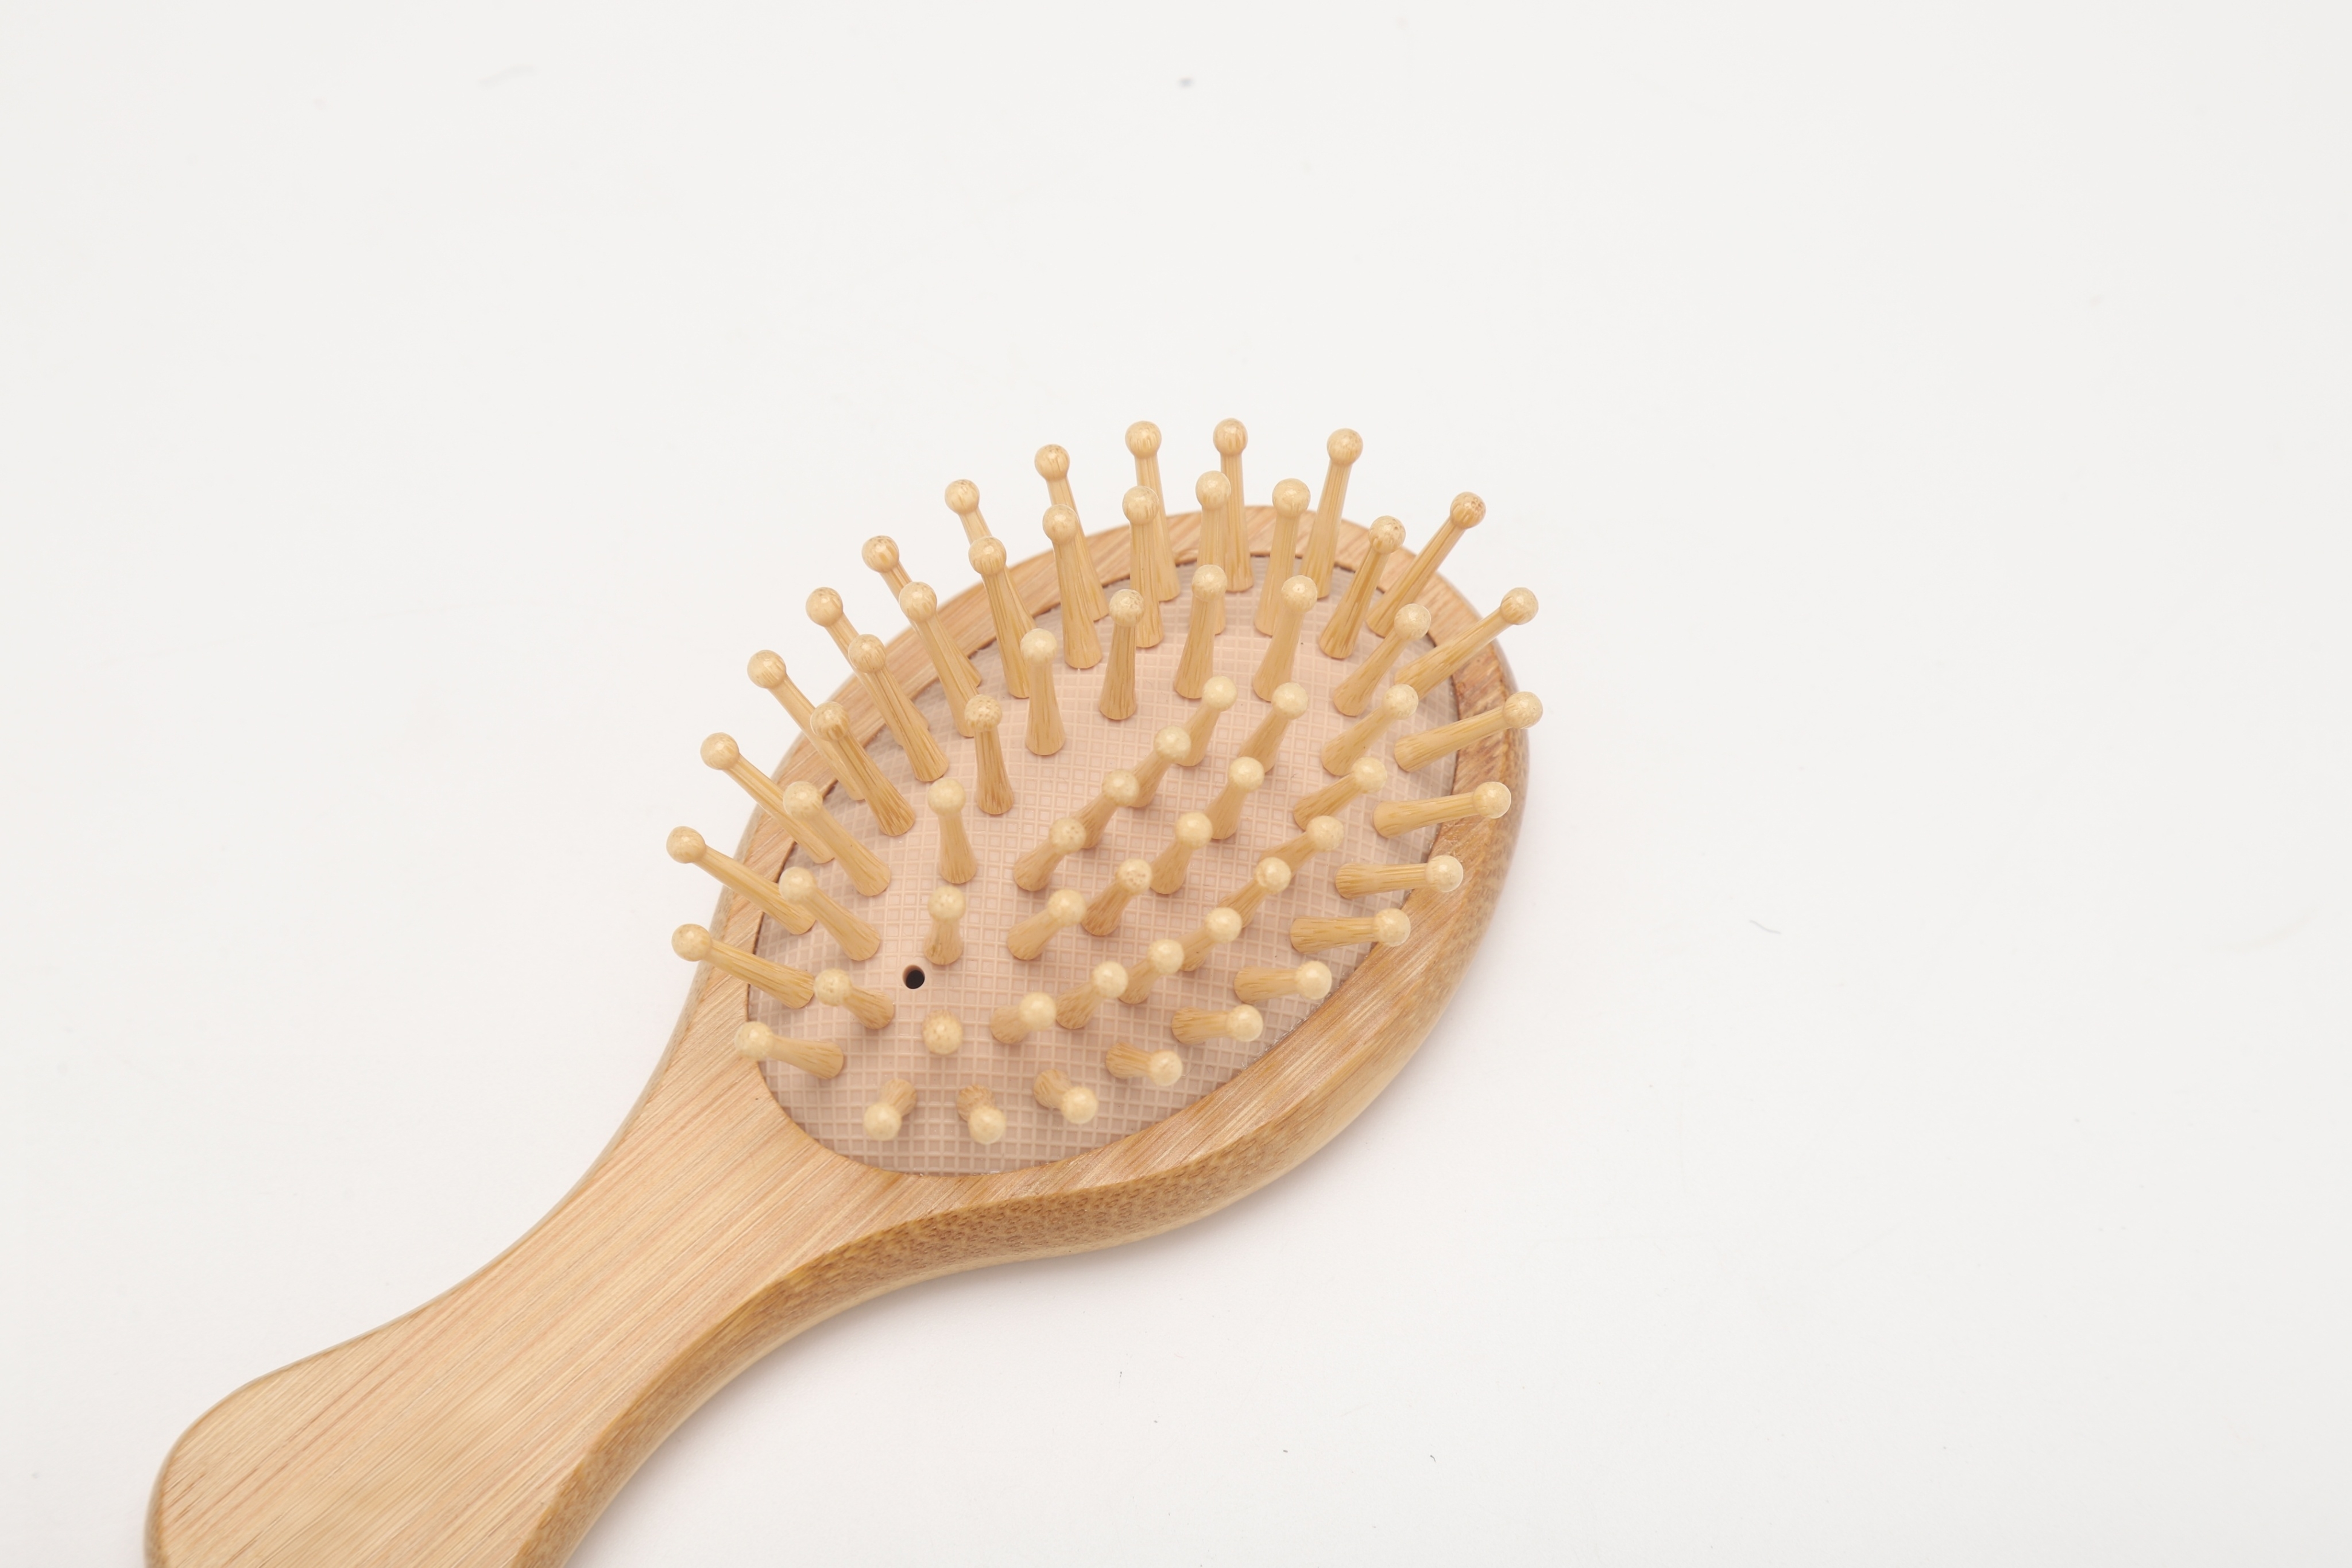
.png "mini bamboo nail brush")


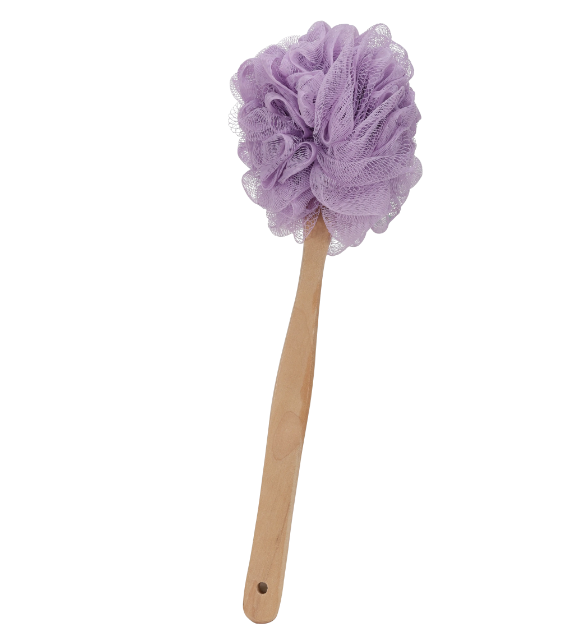
.jpg "long handle loofa bath brush")
.jpg "long handle loofa bath brush")


