
 En
En
 English
 Français
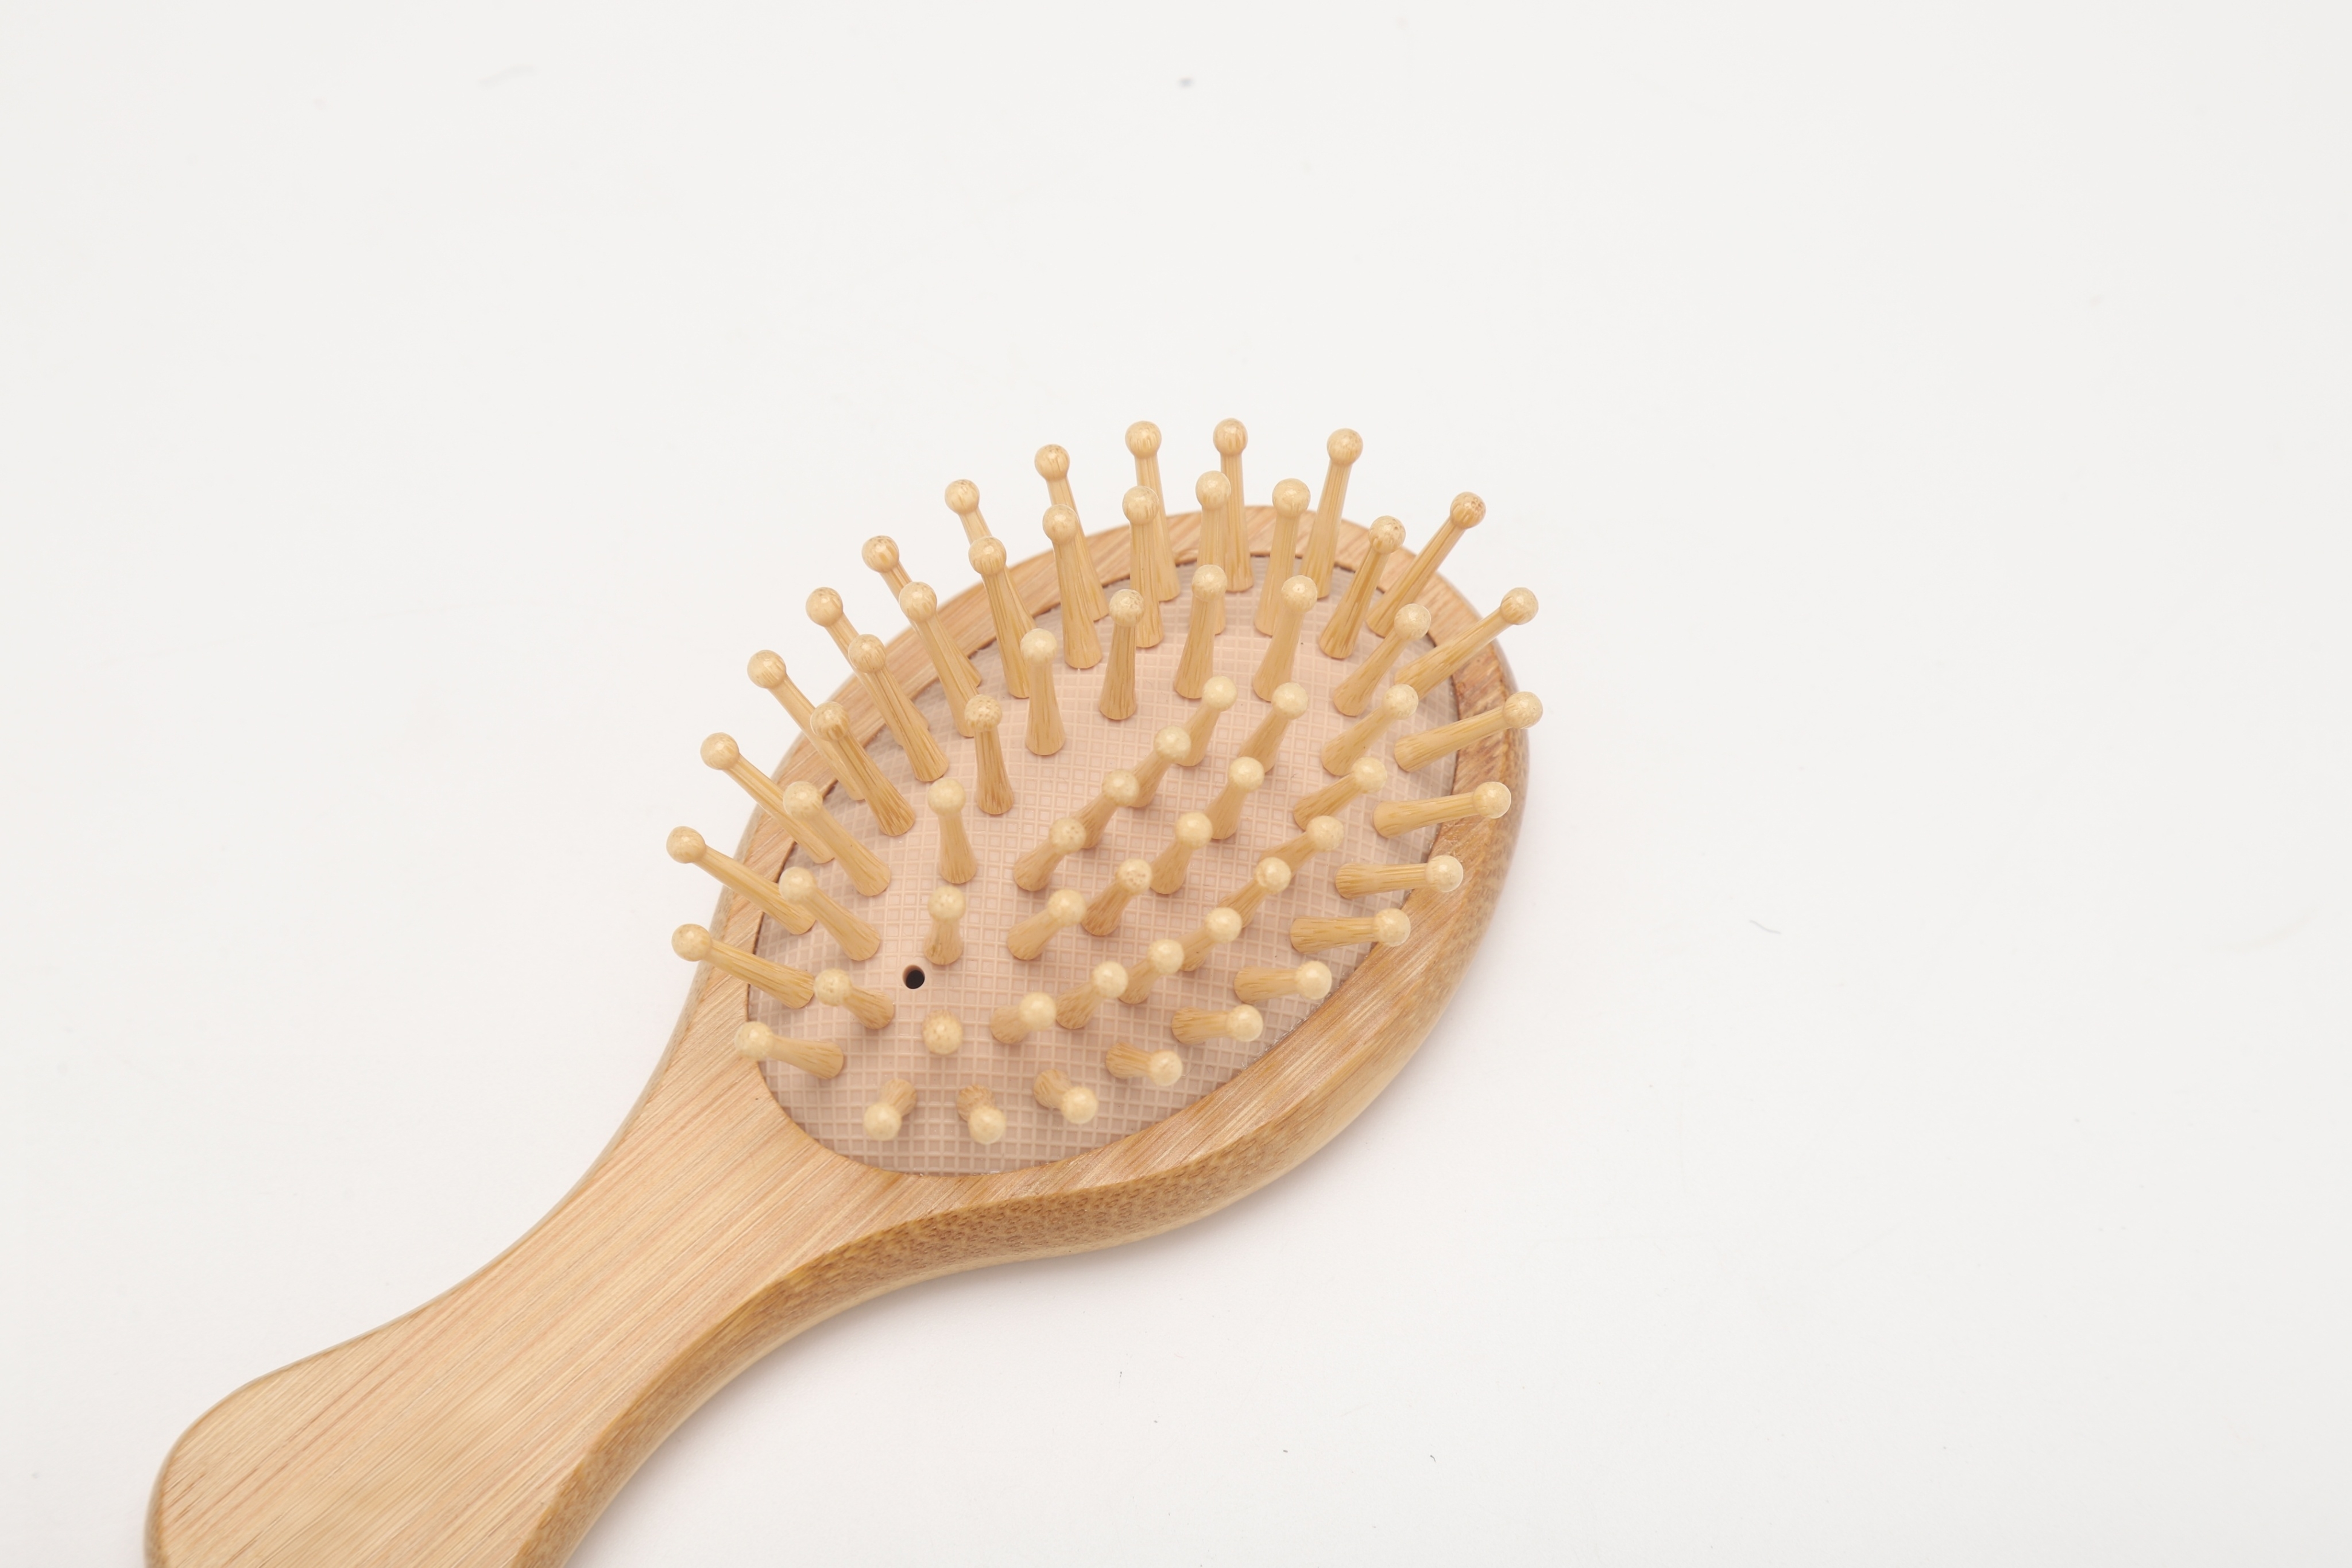

Content
- 1 How to Use a Wood Bath Brush Correctly?
- 2 Dry Brushing vs. Wet Scrubbing: Which Method Is Right for You?
- 3 Step-by-Step: How to Dry Brush with a Wood Bath Brush
- 4 How to Use a Wood Bath Brush for Back Scrubbing in the Shower
- 5 Choosing the Right Bristle Stiffness for Your Skin Type
- 6 How to Clean and Care for Your Wood Bath Brush
- 7 Skin Benefits of Regular Wood Bath Brush Use
- 8 Common Mistakes to Avoid When Using a Wood Bath Brush
- 9 Frequently Asked Questions About Wood Bath Brushes
- 9.1 Q1: How often should I use a wood bath brush?
- 9.2 Q2: Can I use a wood bath brush on my face?
- 9.3 Q3: How long does a wood bath brush typically last?
- 9.4 Q4: Is dry brushing safe for people with eczema or psoriasis?
- 9.5 Q5: What is the best wood for a bath brush handle?
- 9.6 Q6: Does dry brushing really reduce cellulite?
How to Use a Wood Bath Brush Correctly?
To use a wood bath brush correctly, work in long, gentle strokes toward the heart—starting from the feet upward and from the hands toward the shoulders—using light to moderate pressure. For dry brushing, do this before showering on dry skin for 3 to 5 minutes. For wet scrubbing in the shower, apply body wash to the brush and use circular motions on the back, legs, and arms. Rinse thoroughly and hang the brush to air-dry after every use to preserve the wood handle.
Done consistently, this routine can visibly improve skin texture in as little as 2 to 4 weeks, unclog pores, stimulate circulation, and reduce the appearance of rough patches. The sections below walk through every aspect of using a wood bath brush effectively and safely.
Dry Brushing vs. Wet Scrubbing: Which Method Is Right for You?
A wood bath brush can be used in two distinct ways, and understanding the difference helps you choose the right technique for your skin goals:
| Feature | Dry Brushing | Wet Scrubbing |
|---|---|---|
| When to do it | Before showering, on dry skin | During shower, on wet skin |
| Primary benefit | Deep exfoliation, lymphatic stimulation | Cleansing, softer scrub, back washing |
| Pressure needed | Light to moderate | Gentle (bristles soften with water) |
| Recommended frequency | 2–3 times per week | Daily use is fine |
| Best for | Rough skin, keratosis pilaris, dullness | Back acne, hard-to-reach areas, general hygiene |
| Wood handle care | No moisture exposure; longer lifespan | Must dry thoroughly after each use |
Many people use the same brush for both methods—just be aware that frequent wet use will shorten the wood handle's lifespan unless it is sealed or naturally water-resistant (such as bamboo or teak).
Step-by-Step: How to Dry Brush with a Wood Bath Brush
Follow this sequence before your morning shower for the most effective results:
- Start at the feet. Use long, upward strokes along the calves and shins, always moving toward the heart. Spend about 30 seconds per leg.
- Move to the thighs and hips. Use longer sweeping strokes from the knee toward the hip. For the buttocks, use circular motions. This area often benefits most from consistent exfoliation.
- Brush the abdomen. Use gentle clockwise circular strokes—this follows the natural direction of the digestive tract and is thought to support lymphatic drainage.
- Brush the back. Use the long handle to reach your mid and lower back. Use vertical upward strokes. Avoid the spine itself.
- Move to the arms. Start at the hands and stroke upward toward the shoulder. Include the underarm area with gentle strokes directed toward the armpit, where lymph nodes are concentrated.
- Brush the chest and décolletage. Use very light pressure here—the skin is thinner. Stroke downward toward the heart from the shoulders.
- Shower immediately afterward to wash away the exfoliated dead skin cells. Follow with a moisturizer while skin is still slightly damp for best absorption.
The entire routine should take 3 to 5 minutes. Never dry brush broken skin, sunburned areas, or active rashes.
How to Use a Wood Bath Brush for Back Scrubbing in the Shower
The long handle of a wood bath brush is specifically designed to reach the middle and upper back—a zone most people cannot reach effectively with a washcloth. Here's how to do it well:
- Apply a quarter-sized amount of body wash directly to the bristles, or to wet skin before brushing.
- Hold the handle with both hands and use a back-and-forth or circular motion across the shoulder blades and mid-back.
- For lower back and lumbar areas, grip one end of the handle and sweep upward in a single-arm motion.
- Use gentle pressure only—wet bristles are significantly more aggressive on skin than dry ones.
- Rinse the brush head thoroughly under the shower stream before hanging to dry.
For back acne (bacne), consistent wet brushing with a gentle cleanser 2 to 3 times per week can significantly reduce clogged pores and surface bacteria—though it should complement, not replace, any prescribed dermatological treatment.
Choosing the Right Bristle Stiffness for Your Skin Type
Not all wood bath brushes are equal—bristle stiffness is the single most important variable for comfort and effectiveness:
- Soft natural bristles (boar or plant fiber): Best for sensitive skin, beginners, or facial-adjacent areas. Provides gentle exfoliation without redness.
- Medium bristles (sisal or mixed fiber): The most versatile option, suitable for normal to slightly dry skin on the body. Effective for routine exfoliation and back washing.
- Firm bristles (stiff sisal or palmyra fiber): Best for thick-skinned areas like heels, elbows, and knees, or for those with very dry, rough skin. Should not be used on the chest, inner arms, or abdomen.
A simple test: press the bristles firmly against your palm. If it feels uncomfortable or scratchy after 5 seconds, it is too stiff for sensitive zones. When in doubt, choose medium bristles—you can always apply more pressure, but you cannot undo irritated skin.
How to Clean and Care for Your Wood Bath Brush
Proper care extends the life of your brush significantly—a well-maintained wood bath brush can last 1 to 3 years, while a neglected one may crack or develop mold within months.
After Every Use
- Rinse the bristles under warm running water to remove soap and skin debris.
- Never submerge the wooden handle—prolonged water contact causes cracking and splitting.
- Shake off excess water and hang bristle-side down in a ventilated area or outside the shower.
Deep Cleaning (Once Every 1–2 Weeks)
- Mix a small amount of gentle shampoo or castile soap with warm water.
- Dip only the bristle head into the solution and gently work the soap through with your fingers.
- Rinse bristles thoroughly. Allow to air-dry completely—at least 24 hours—before the next use.
- Optionally, add a few drops of tea tree oil to the rinse water as a natural antibacterial agent.
Protecting the Wood Handle
- Apply a thin coat of natural beeswax or food-grade mineral oil to the handle every 2 to 3 months to prevent drying and cracking.
- Store in a dry location—never leave on a wet shower floor or in a humid closed cabinet.
Skin Benefits of Regular Wood Bath Brush Use
When used consistently and correctly, a wood bath brush delivers several well-supported skin benefits:
- Exfoliation of dead skin cells: The outer layer of skin (stratum corneum) renews every 28–40 days. Brushing accelerates removal of dead cells, revealing smoother skin underneath and reducing dullness.
- Improved product absorption: Studies on skin barrier function suggest that removing the surface dead cell layer can improve moisturizer penetration by up to 40%—meaning your post-shower lotion works harder.
- Circulation stimulation: The mechanical action of brushing increases superficial blood flow, giving skin a temporary healthy flush and supporting nutrient delivery to skin cells.
- Reduction of ingrown hairs: Regular exfoliation keeps hair follicles clear, reducing the likelihood of ingrown hairs on legs, underarms, and bikini areas.
- Unclogging pores: Removing accumulated dead skin and oil from pore openings helps reduce blackheads and body breakouts, particularly on the back and chest.
Common Mistakes to Avoid When Using a Wood Bath Brush
Even with the right brush, incorrect technique can cause irritation or damage. Avoid these frequent errors:
- Brushing too hard: Skin should look slightly pink after dry brushing—not red or irritated. Consistent redness means you are using too much pressure or brushing too frequently.
- Brushing sensitive areas: Avoid the face, neck, inner wrists, behind the knees, and genitals. These areas have thin, delicate skin that is easily damaged by stiff bristles.
- Dry brushing daily: Over-exfoliation disrupts the skin barrier. Limit dry brushing to 2–3 sessions per week maximum, especially when starting out.
- Not moisturizing afterward: Exfoliation temporarily increases transepidermal water loss. Skipping moisturizer after dry brushing can leave skin drier than before.
- Leaving the brush wet: Storing a soaked wood brush in an enclosed shower is the fastest way to develop mold in the bristles and crack the handle. Always hang and air-dry.
- Sharing brushes: A bath brush accumulates dead skin cells and bacteria. It should be a personal hygiene tool used by one person only.
Frequently Asked Questions About Wood Bath Brushes
Q1: How often should I use a wood bath brush?
For dry brushing, 2 to 3 times per week is the sweet spot for most people. Daily use can over-exfoliate and compromise the skin barrier, leading to sensitivity and redness. For wet scrubbing in the shower (back washing and general cleansing), daily use is generally fine since wet bristles are gentler. If you are new to dry brushing, start with once a week and gradually increase as your skin adapts over 2 to 4 weeks.
Q2: Can I use a wood bath brush on my face?
No—standard wood bath brushes are not suitable for facial use. Facial skin is significantly thinner and more sensitive than body skin, and body brush bristles are far too coarse. Even "soft" body brush bristles can cause microtears on the face. If you want to exfoliate facial skin, use a dedicated soft facial cleansing brush or a gentle enzyme exfoliant instead.
Q3: How long does a wood bath brush typically last?
With proper care—rinsing after every use, air-drying bristle-down, and occasional oiling of the handle—a quality wood bath brush should last 1 to 3 years. Signs it is time to replace include splayed or matted bristles that no longer spring back, visible mold on the bristle base despite cleaning, cracks in the wood handle, or a persistent unpleasant odor even after deep cleaning.
Q4: Is dry brushing safe for people with eczema or psoriasis?
Generally, dry brushing is not recommended during active flare-ups of eczema or psoriasis. The mechanical friction can aggravate inflamed skin, break the surface, and worsen symptoms. During remission, some people with mild eczema tolerate very gentle dry brushing with soft bristles on unaffected areas. Always consult a dermatologist before starting dry brushing if you have a chronic skin condition.
Q5: What is the best wood for a bath brush handle?
Bamboo and teak are the two best handle materials for bath brushes that will be used in wet environments. Bamboo is naturally moisture-resistant, antimicrobial, and sustainable—it absorbs significantly less water than most hardwoods. Teak contains natural oils that repel water and resist cracking. Beech and pine handles are more affordable but require more diligent drying to prevent warping. Avoid brushes with painted or varnished handles where the coating is already peeling, as exposed raw wood will absorb water quickly.
Q6: Does dry brushing really reduce cellulite?
Dry brushing can temporarily improve the appearance of cellulite by stimulating circulation and causing mild swelling of the skin surface, which makes dimpling less visible. However, there is currently no clinical evidence that it permanently reduces or eliminates cellulite, which is structural in nature (involving fibrous connective tissue bands beneath the skin). Think of it as a complementary practice for smoother-looking skin rather than a standalone cellulite treatment.


.png "mini bamboo nail brush")


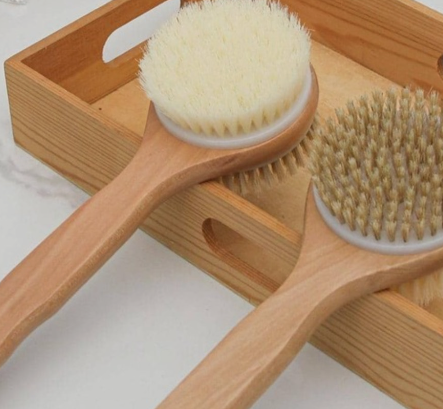
.jpg "long handle loofa bath brush")
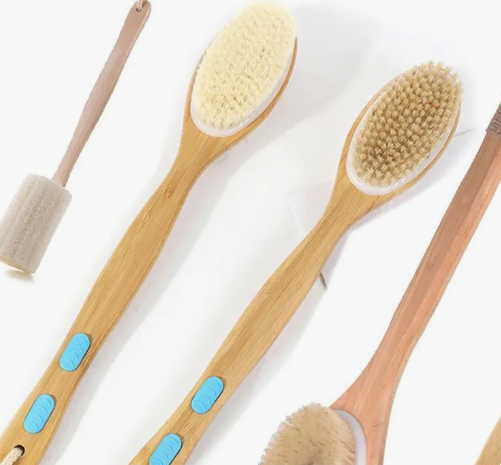
.jpg "long handle loofa bath brush")


